
Installation, wiring and local programming instructions for the Door Gard Series 232FX access control keypad, with SSW-FX and 232 controller specifications.
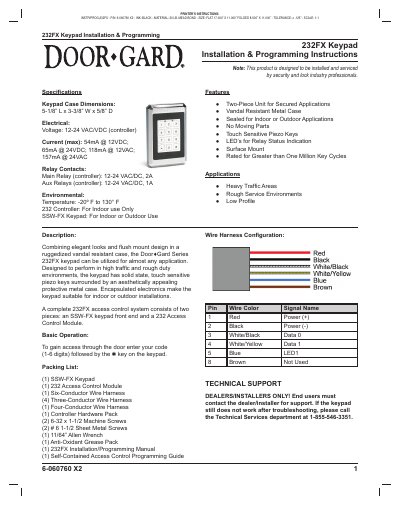
The Door Gard Series 232FX is a two-piece access control keypad system made up of an SSW-FX keypad front end and a 232 Access Control Module. This installation and programming instruction booklet covers keypad and controller specifications, features and applications, the packing list, wire harness configuration, the keypad installation procedure, wiring the keypad to the 232 module, access control wiring with an electromagnetic lock or electric door strike, integrated access control wiring, local keypad programming options, LED indications, keypad testing and the limited warranty.
The keypad uses a vandal resistant sealed metal case with touch sensitive piezo keys and no moving parts, and it provides LEDs for relay status indication. The document states that the product is designed to be installed and serviced by security and lock industry professionals, and that all user codes and other access control features are programmed into the controller, which is covered by a separate Door Gard keypad programming guide.
| Keypad case dimensions | 5-1/8" L x 3-3/8" W x 5/8" D |
|---|---|
| Voltage (controller) | 12-24 VAC/VDC |
| Current (max) | 54mA @ 12VDC; 65mA @ 24VDC; 118mA @ 12VAC; 157mA @ 24VAC |
| Main relay contacts (controller) | 12-24 VAC/DC, 2 A |
| Aux relay contacts (controller) | 12-24 VAC/DC, 1 A |
| Operating temperature | -20 °F to 130 °F |
| Wiring requirements | 18 AWG – 1000 Ft.; 20 AWG – 500 Ft.; 22 AWG – 250 Ft. |
| Key cycle rating | Greater than one million key cycles |
| Access code length | 1-6 digits followed by the ✱ key |
| Default local program code | 6789 |
Enter 099 # program code ✱ on the keypad; the default program code is 6789.
Enter your code of 1 to 6 digits followed by the ✱ key.
It is recommended that the keypad self-test be performed once a year to ensure the keypad is working properly.
Use the loopback connection: power down the unit, short the wires as illustrated, power the unit back up and change the local program code or reset the unit.