
Step-by-step guide to bring up Linux on the DECA development kit using pre-built binaries or rebuilding source files from scratch.
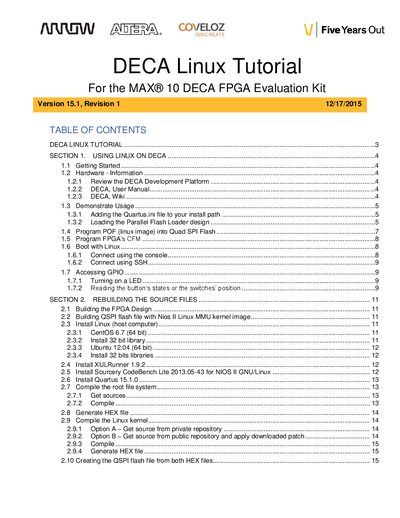
This tutorial provides instructions for bringing up a Linux system on the DECA MAX 10 FPGA Evaluation Kit. It covers hardware setup, programming the FPGA and Quad SPI flash with kernel images, and booting the operating system.
The guide includes two main sections: using pre-built binaries to get a working Linux prompt quickly, and rebuilding the source files from scratch for custom development. Topics include installing necessary software like Quartus Prime and Nios II GNU/Linux toolchains, compiling root file systems, applying patches via GIT or file copy, and accessing GPIOs.
| Interfaces | 10/100 Ethernet, DDR3 SDRAM, QSPI flash, LEDs, push-buttons, and switches |
|---|---|
| GPIO Count | 12 GPIOs |
| Username/Password | root / deca |
The default username is 'root' and the password is 'deca'.
Connect the DECA board to your PC using a USB cable connected to the mini-USB connector labeled J10 UB2.
You can read GPIO input status by exporting the device number and using the 'cat' command to read its value.