
The Dell™ E-Port Plus II User's Guide provides information on how to set up and use the E-Port Plus II.
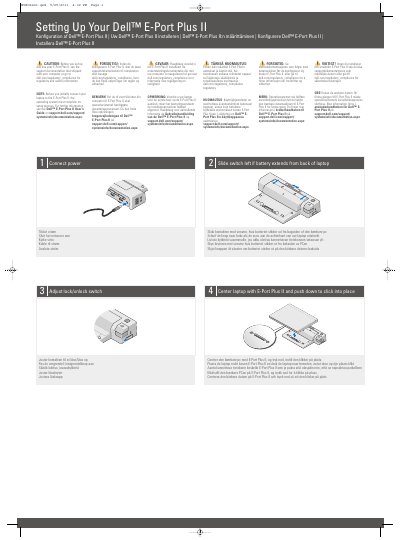
This is Dell's Quick Setup Guide for the E-Port Plus II, printed in English, Danish, Dutch, Finnish, Norwegian and Swedish. It starts with a caution to read the support documentation that shipped with the computer, or to visit dell.com/regulatory_compliance for regulatory and safety information, and notes that the operating system must complete its setup process before the laptop is connected to the E-Port Plus II for the first time.
The guide then walks through four numbered setup steps: connect power, adjust the lock/unlock switch, slide a switch left if the battery extends from the back of the laptop, and center the laptop on the E-Port Plus II and push down until it clicks into place. A second section, About Your Dell E-Port Plus II, labels the parts (battery bar adjuster, alignment mark, battery bar, power button, eject button, security cable slot, lock/unlock switch, docking connector) and the back panel connectors, including network, parallel, DVI, audio, USB 2.0, AC adapter, DisplayPort, VGA, serial, USB 2.0/3.0, PS/2, eSATA and E-Monitor Stand connectors.
| USB 2.0 connectors | 3 |
|---|---|
| USB 2.0/3.0 connectors | 2 |
| DVI connectors | 2 |
| DisplayPort connectors | 2 |
| PS/2 connectors | 2 |
| Audio connectors | 2 |
| Additional connectors | Network, parallel, serial, VGA, eSATA, AC adapter and E-Monitor Stand connectors |
The operating system must complete its setup process first.
Center the laptop with the E-Port Plus II and push down until it clicks into place.
Slide the switch to the left.
See the support documentation that shipped with your computer or go to dell.com/regulatory_compliance.