
This document describes how to assemble Scorpion's Kunai.
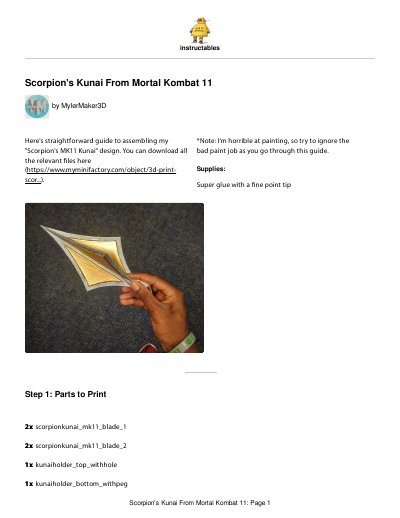
This Instructables guide by MylerMaker3D explains how to assemble the "Scorpion's MK11 Kunai" 3D-printed design from Mortal Kombat 11. The printable files are available for download from myminifactory.com, and the build requires super glue with a fine point tip.
The guide is organized into five steps: printing the parts, assembling the two blade sets with their inserts, joining the blades, attaching the completed blades to the kunai holder, and final touches. Each step lists the required part files and quantities, such as 2x scorpionkunai_mk11_blade_1, 2x scorpionkunai_mk11_blade_2, 4x bladeinsert, 4x bladeinsert_mirrored, 1x kunaiholder_top_withhole and 1x kunaiholder_bottom_withpeg.
The guide calls for super glue with a fine point tip, applied to the blade inserts, blade joints and the holder slots.
You need 2x scorpionkunai_mk11_blade_1, 2x scorpionkunai_mk11_blade_2, 2x scorpionkunai_mk11_blade2_1, 2x scorpionkunai_mk11_blade2_2, plus 4x bladeinsert and 4x bladeinsert_mirrored.
The relevant files can be downloaded from the linked object page on myminifactory.com.
Apply glue to the bottom of the open slot in kunaiholder_bottom_withpeg, insert the completed blade, then glue each side of blade2 into its shown slot.