
This manual provides an overview of Oculus Go's operation, including how to charge it, install the eyeglass spacer, and use the controller.
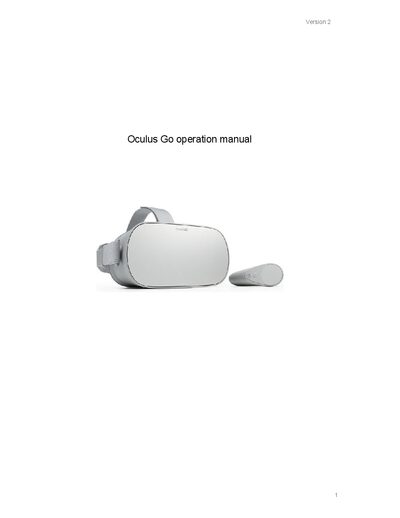
This manual covers everything needed to get started with the Oculus Go headset, including package contents, charging procedures, controller functions, and safety guidelines. It also explains how to connect to Wi‑Fi, transfer 360° video files from a Windows PC, and use the built‑in speaker or headphones.
Additional sections describe the meaning of the headset’s status lights, how to adjust volume, and where to find the full health and safety instructions on the Oculus website.
| Battery charging indicator (green) | Charging (above 95%) |
|---|---|
| Battery charging indicator (orange) | Charging (below 95%) |
| Low battery indicator (red) | Less than 15% |
| Screen on indicator (white solid) | Screen is On |
| Rebooting indicator (white blinking) | Oculus Go is Rebooting |
| Starting up indicator (orange solid) | Headset is Starting Up |
Plug in the supplied micro USB cable to a computer or USB charger; the battery indicator will show green solid while charging above 95% or orange solid below 95%.
Open Settings on the headset, select Wi‑Fi, and choose a network to connect.
Connect the headset to a Windows PC via USB, allow data access, then copy video files to the VR‑Headset/Internal shared storage/Movies folder.
Red solid indicates low battery (<15%); white solid means the screen is on; white blinking shows the headset is rebooting; orange solid means the headset is starting up.