
This is a quick start guide that introduces the basic functions of MX Series II Modules and how to use them in the laboratory.
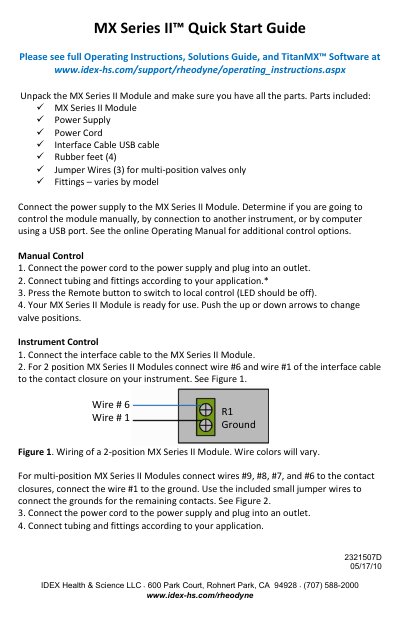
This Quick Start Guide covers the unpacking and initial setup of the MX Series II Module. It details the parts included in the box, such as the module, power supply, interface cable, and jumper wires for multi-position valves. The guide instructs users to connect the power supply and determine the control method before proceeding with specific setup steps. This manual is written in Chinese.
The parts include the MX Series II Module, Power Supply, Power Cord, Interface Cable USB cable, Rubber feet (4), Jumper Wires (3) for multi-position valves only, and Fittings – varies by model.
Connect the power cord to the power supply and plug into an outlet. Connect tubing and fittings according to your application. Press the Remote button to switch to local control.
The included Rheodyne® Titan MX™ Software is used for USB control.
The display should read “1” and the remote LED should be lit.