
This manual contains installation, maintenance and troubleshooting instructions for Gunite Slack Adjuster
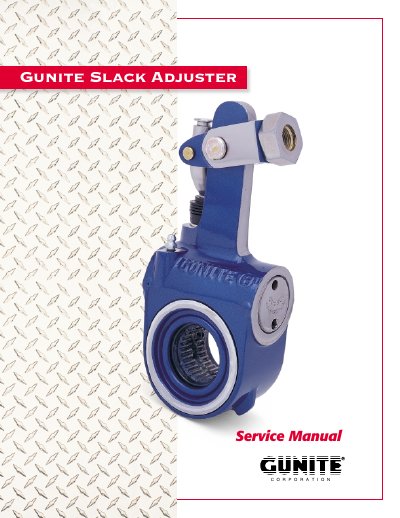
This service manual provides step-by-step instructions for installing, adjusting, and maintaining Gunite slack adjusters. It includes procedures for both collar lock and threaded clevis types, with emphasis on proper torque, push rod alignment, and brake system compatibility. Safety warnings highlight the importance of correct installation to ensure safe vehicle operation.
The manual also covers preventative maintenance, testing adjuster function, and replacing boots. It specifies that Gunite slack adjusters require compatible foundation brakes and advises against mixing brands on the same axle. Installation tools and templates are referenced for alignment and torque verification.
A new clevis must be installed.
40 to 50 ft lbs of torque.
The push rod may extend up to 1/16" past the clevis opening.
Backing off a new slack adjuster may require up to 50 ft lbs of torque.