
This document is the assembly manual for RC10 Classic, which contains instructions and tips for building and maintaining.
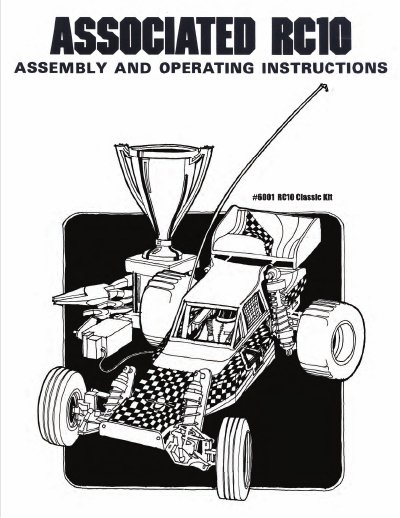
This manual provides step-by-step instructions for assembling the Team Associated RC10 Classic, a replica of the original 1984 model. It details the construction of key components including the nose plate/steering assembly, front and rear suspension systems, transmission, bulkheads, and electronics bay.
The guide also includes sections on installing wheels, tires, and the body shell, along with specific tuning tips for adjusting ride height, camber, toe, and shock settings to optimize performance for various track conditions.
| Battery Compatibility | 6-cell NiMh and 2S LiPo battery packs |
|---|---|
| Chassis Material | Gold anodized 6061-T6 aluminum monocoque tub |
| Suspension Type | Fully adjustable four wheel independent suspension |
| Shock Type | Fluid filled gold anodized aluminum coil over shocks |
| Transmission | Low profile sealed six-gear transmission |
The kit includes Allen wrenches (.050", 1/16", 3/32", 5/64" and .035"), molded tools, a camber gauge, shock building tool, tire adhesive, body scissors, reamer/hole punch, wire cutters, hobby knife, FT Hex wrenches, needle nose pliers, multi tool, soldering iron, calipers or precision ruler, and Green Slime shock lube.
You need an R/C two channel surface frequency radio system, Electronic Speed Control (ESC), R/C Electric Motor, Steering Servo and Servo Horn, a 2S LiPo or 7.2V NiMH battery, Peak detection battery charger, #2 Bit Type Phillips Screw Driver, Retaining Ring Pliers, Polycarbonate specific paint, Thread Lock, Pinion gear, and Silicone Shock Fluid.
There is a 1:1 hardware foldout page in the back of the manual. To check the size, line up your hardware with the correct drawing until you find the exact size.