
This document is an assembly manual for the 1972 Flying Model Rocket Kit by Estes Industries. It provides assembly tips, a parts list, and the required tools and supplies. It also includes instructions on how to choose a launch site and safety precautions for flying the rocket.
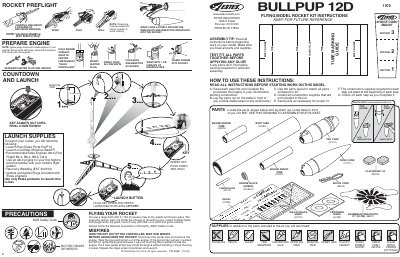
This document provides step-by-step assembly instructions for the Estes 1972 Bullpup 12D model rocket kit. It includes a detailed parts list with part numbers, guidance on required tools and supplies such as glue and sandpaper, and specific steps for gluing components like fins, engine mounts, and tail cones.
| Recommended Engines | A8-3, B4-4, B6-4, B&8-5, C6-5 |
|---|---|
| Launch Pad Requirement | Estes Porta-Pad II or Launch Controller |
Use an A8-3 engine for your first flight to become familiar with your rocket's flight pattern.
You need a large field that is at least 500 feet square, free of dry weeds and brown grass.
You should use an A8-3 engine for your first flight to become familiar with the rocket's pattern.
Glue the launch lug straight on the line so its rear edge is 73 mm (2-7/8") from the rear of the tube.