User manual for the Starfire SF-5200S-QG gantry CNC cutting machine system, covering setup, operation, and maintenance.
About this manual
The Starfire SF-5200S-QG CNC cutting machine system is a gantry‑type controller for flame, plasma, high‑pressure water jet and laser cutting machines. It provides a multi‑level menu interface, automatic and manual cutting modes, a graphics library, nesting, diagnostics, and extensive I/O options.
The manual details safety precautions, hardware specifications, system menus, parameter settings, software upgrade procedures, and remote‑control operation, helping users install, operate, and maintain the equipment safely and efficiently. This manual is written in Chinese.
What's inside
- System Function Overview
- System Work Main Menu
- Automatic Function
- Manual Function
- Edit Function
- Command System
- Parameter Settings
- Graphics Library
- Nesting Function
- Diagnostic Function
Specifications
| Display | 15" TFT, 1024×768 resolution |
|---|
| Operating Memory | 64 MB |
|---|
| Program Storage | 4 GB (expandable to 32 GB) |
|---|
| Dimensions | 410 mm × 310 mm × 119 mm |
|---|
| Operating Temperature | 0 °C – +40 °C |
|---|
| Storage Temperature | -40 °C – +60 °C |
|---|
| Input Ports | 16 opto‑isolated inputs |
|---|
| Output Ports | 14 opto‑isolated outputs |
|---|
| Axes | 2 (expandable to 4) |
|---|
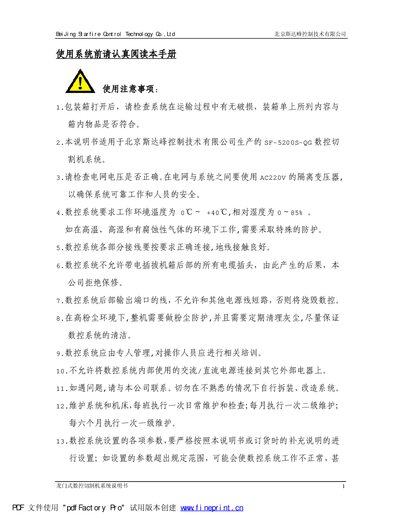
| Power Supply Recommendation | Use an AC 220 V isolation transformer |
|---|
Frequently asked questions
What voltage transformer should be used with the system?
An AC 220 V isolation transformer should be placed between the power grid and the system.
What is the operating temperature range of the system?
The system can operate in ambient temperatures from 0 °C to +40 °C.
How many input and output ports are available?
The system provides 16 opto‑isolated input ports and 14 opto‑isolated output ports.
How can the system software be upgraded?
Copy the upgrade file named STARTCNC.EXE to a FAT/FAT32 formatted USB drive, press and hold the upgrade key on the front panel while the system is powered off, then power on and follow the on‑screen prompts.